DH2323 — Computer Graphics, KTH 2026
Real-time stylized waterfall rendering in Unity
A real-time stylized waterfall system implemented in Unity. The water surface is rendered via a handwritten HLSL shader built around fractal Brownian motion of Perlin noise, with vertex displacement, finite-difference normals, Blinn-Phong shading, and domain warping. A separate foam shader handles surface froth. Both shaders are applied across three meshes, the river leading into the waterfall, the waterfall face, and the pool below, with per-material parameters that produce visually distinct flows from a single technique.
Authors
John Swärd & Kimmy Kochar Karlsson
Scene composition and the seam problem
This was the point where the foam and water shaders finally started feeling like one system instead of separate effects. The final foam shader combines UV edge masks, thresholded FBM and a radial impact mask, rendered as a transparent layer above the water surface. I also offset the foam slightly along the mesh normals to avoid z-fighting. Once everything came together in the final environment, the foam helped sell the waterfall, river and pool as one connected stylized water system.
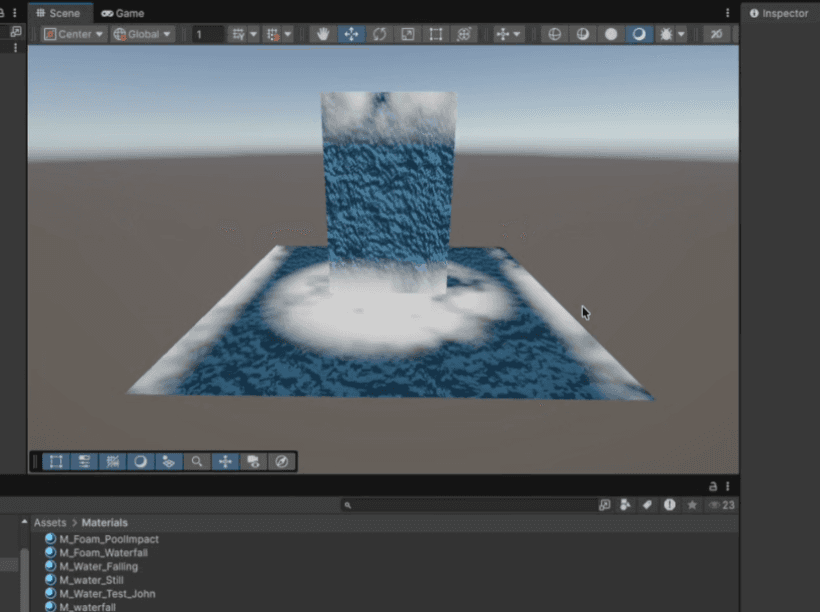
Surface and Foam shader together on a Waterfall
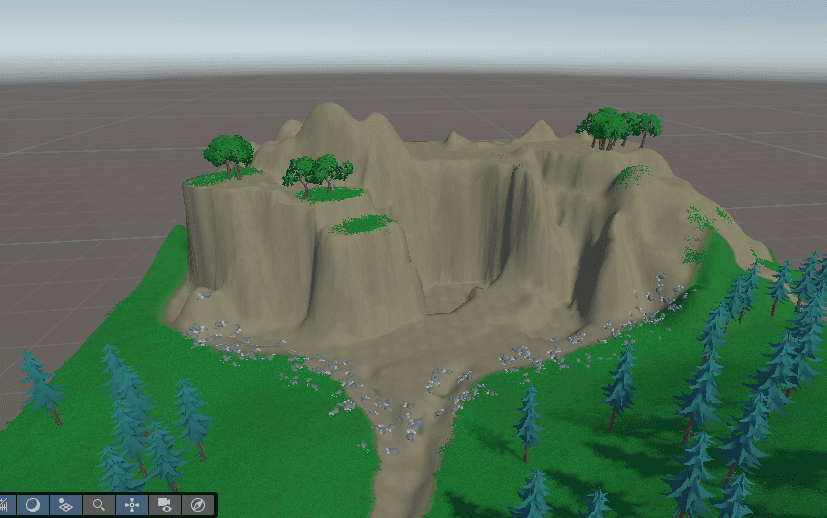
Final environment scene without the waterfall implemented
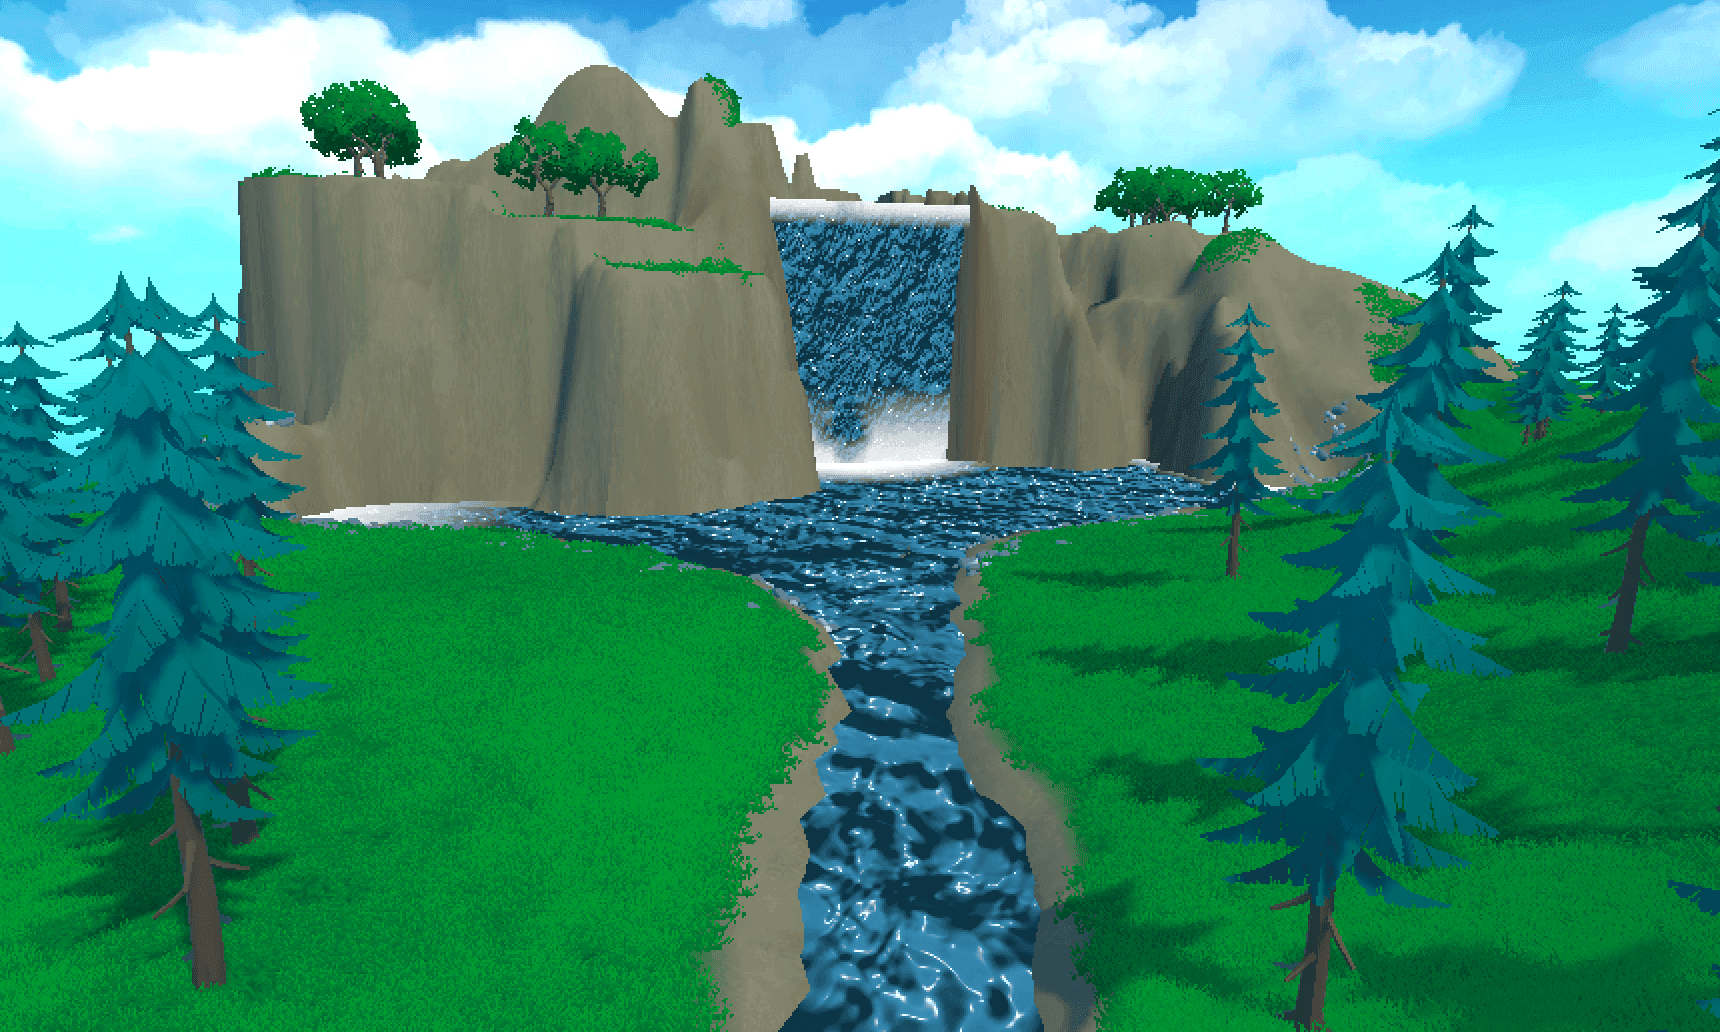
Final scene with all shaders, environment, skybox and tuned parameters together
Surface shader step 8: Tangent space and the vertical waterfall
Hardest step. Up until now the shader assumed the water surface points up, which is fine for a pool but broken for a vertical waterfall. Had to pass tangent, bitangent, and normal from the vertex shader, reconstruct the normal in tangent space, then transform it back to world space using the TBN basis. Conceptually painful for a while because I kept conflating object space and tangent space. Got there in the end! Same shader now works on the horizontal pool and the vertical waterfall face without any weird lighting and other behaviours.
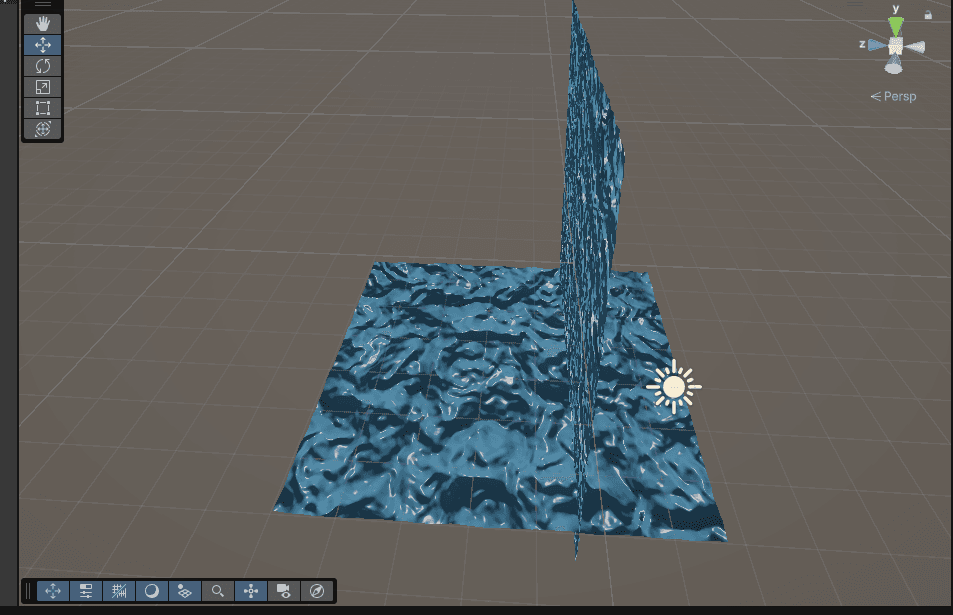
Same shader running on the horizontal pool and the vertical waterfall, normals reconstructed in tangent space
Foam shader step 4: Tuning the foam breakup
Once the water shader started getting proper color and lighting, it became much easier to judge what the foam actually looked like in the scene. The breakup was still far too grainy, especially around the pool impact area where the splash looked more like TV static than foam. Most of this step was honestly parameter tuning: adjusting noise scale, cutoff, contrast, softness and the foam widths until the foam became softer and more stylized instead of noisy speckles.
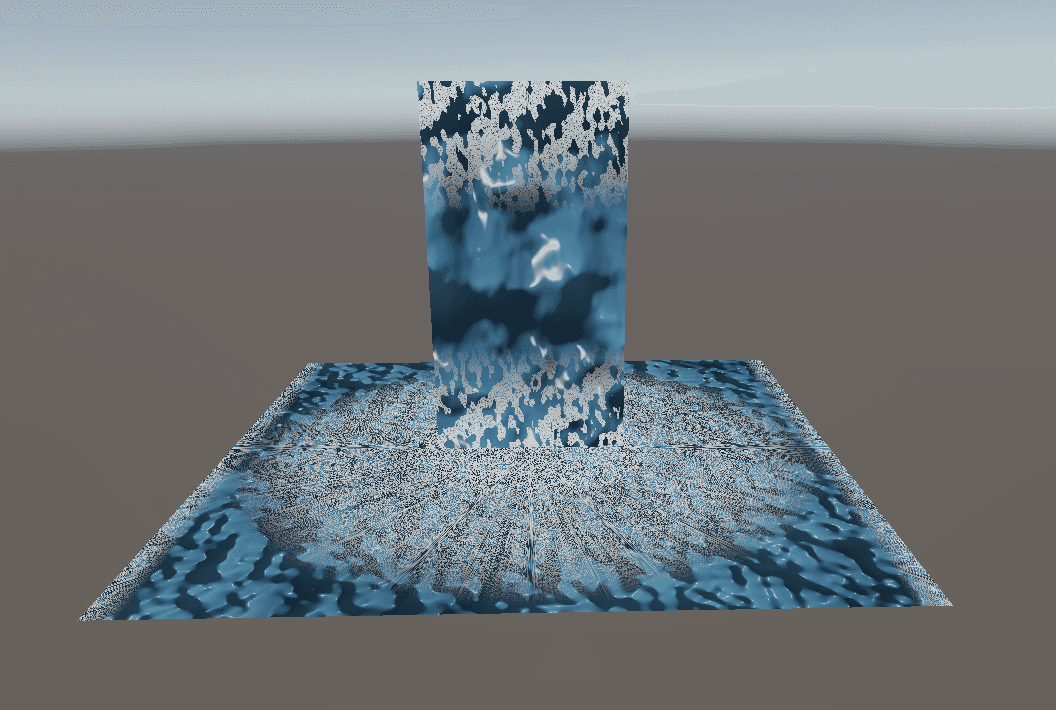
Grainy foam breakup before parameter tuning
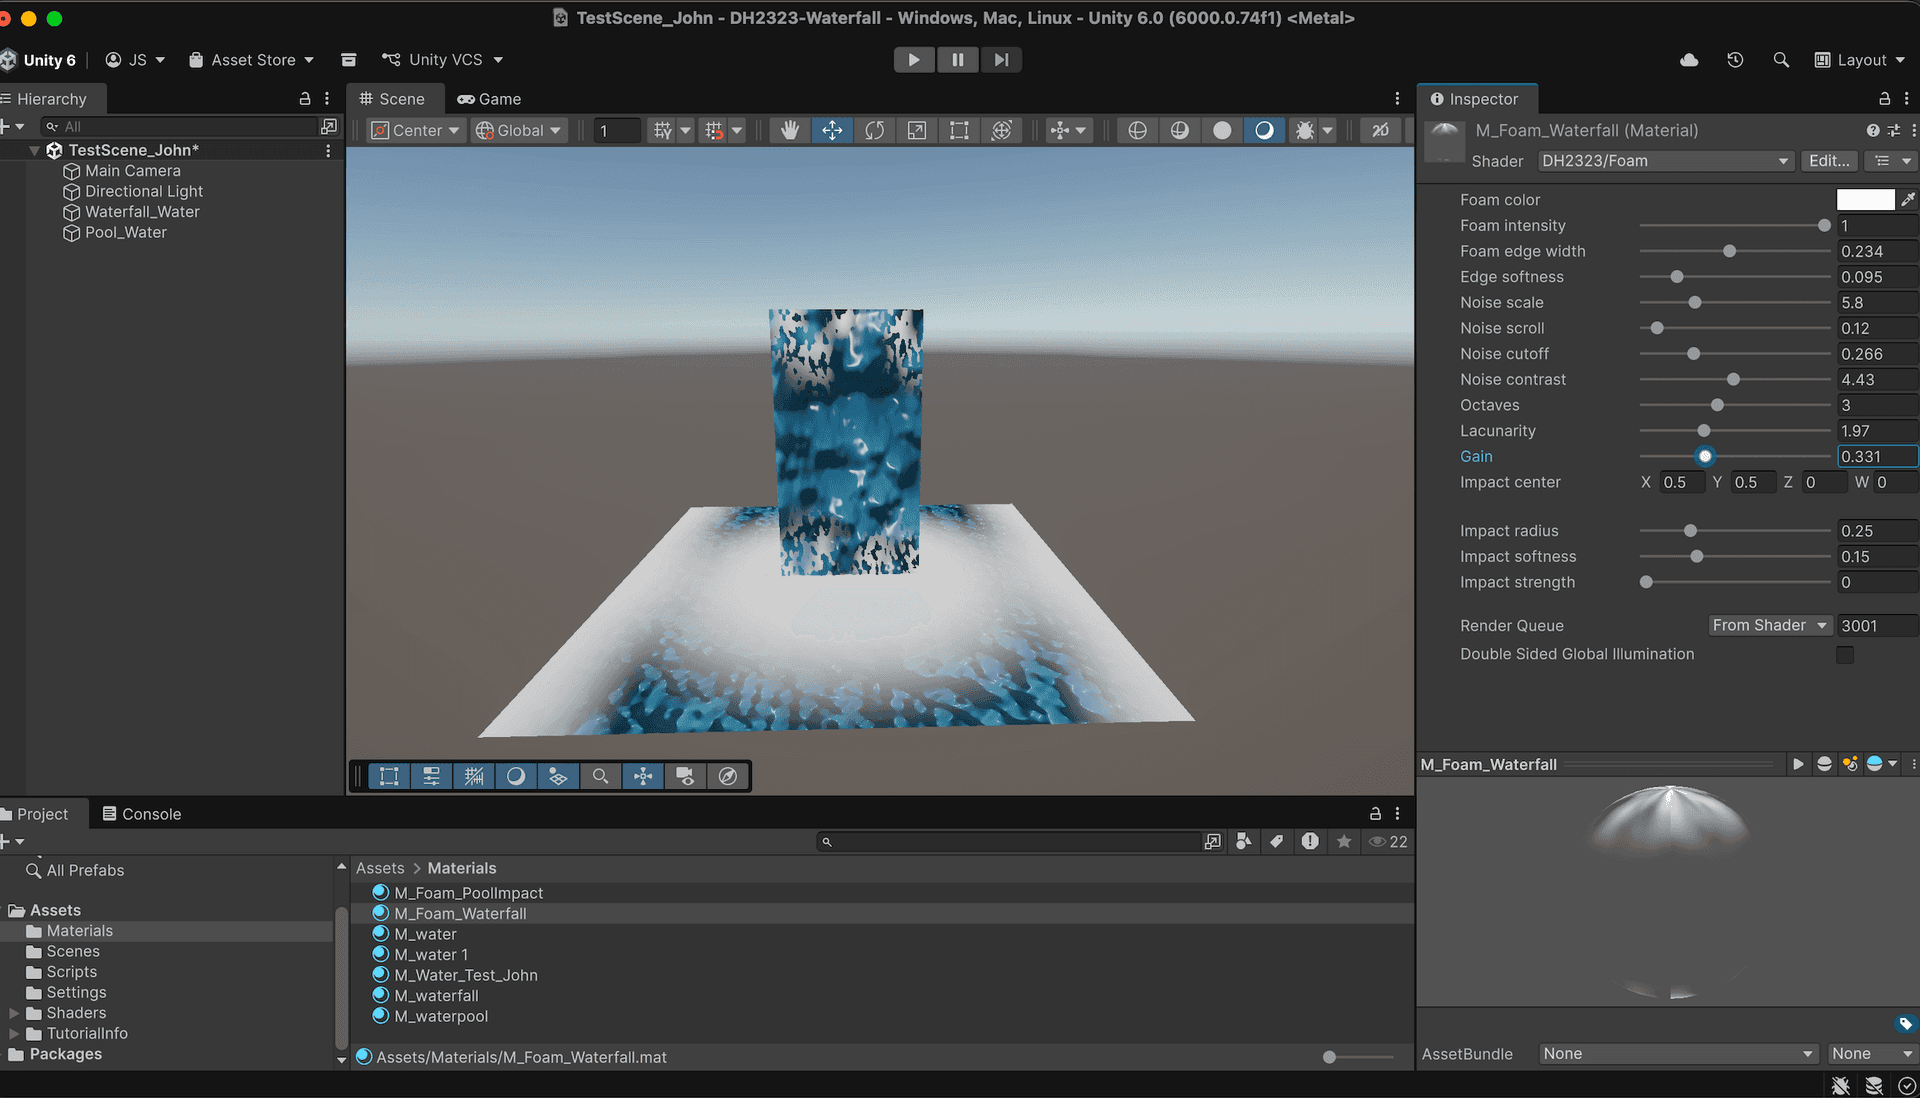
Improved foam breakup after tuning cutoff and contrast
Surface shader step 7: Domain warping
Two lines of code, massive change. Sample FBM, use the result as an offset, sample FBM again at the offset position. The scrolling stopped looking like a flat slide and started looking like currents and eddies. Cranked _WarpStrength from 0.5 to 1.5 and the surface went from a gentle river to actively marbled. fbm(p + fbm(p)) is such a small expression for such a big result.
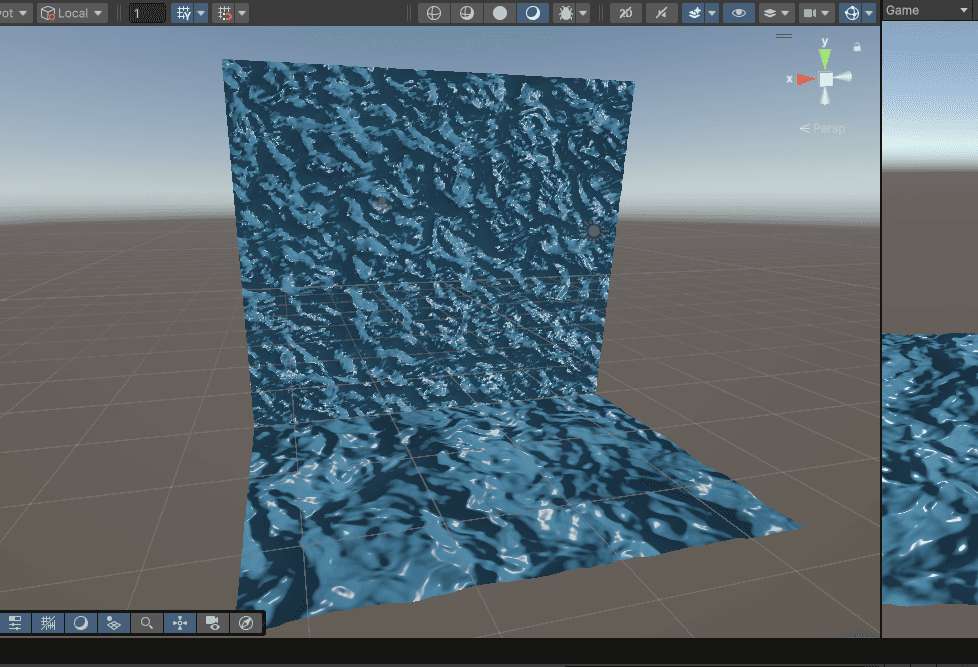
Domain-warped surface, fbm(p + fbm(p)) at _WarpStrength = 1.5 vertically and 0.5 horizontally
Surface shader step 6: Swapping the placeholder for real Perlin
Up until now I'd been using a hash-based placeholder noise. Step 6 was implementing Perlin properly, with a permutation table, the quintic fade function, and gradient interpolation. Followed Adrian Biagioli's walkthrough closely. The visual difference was massive. The hash noise had a grainy, blocky look to it; Perlin gave smooth flowing patterns that actually look like water motion. Also clicked why Perlin's 2002 paper specifically uses 6t⁵−15t⁴+10t³ instead of smoothstep. Continuous second derivatives means the normal reconstruction from step 5 doesn't band.
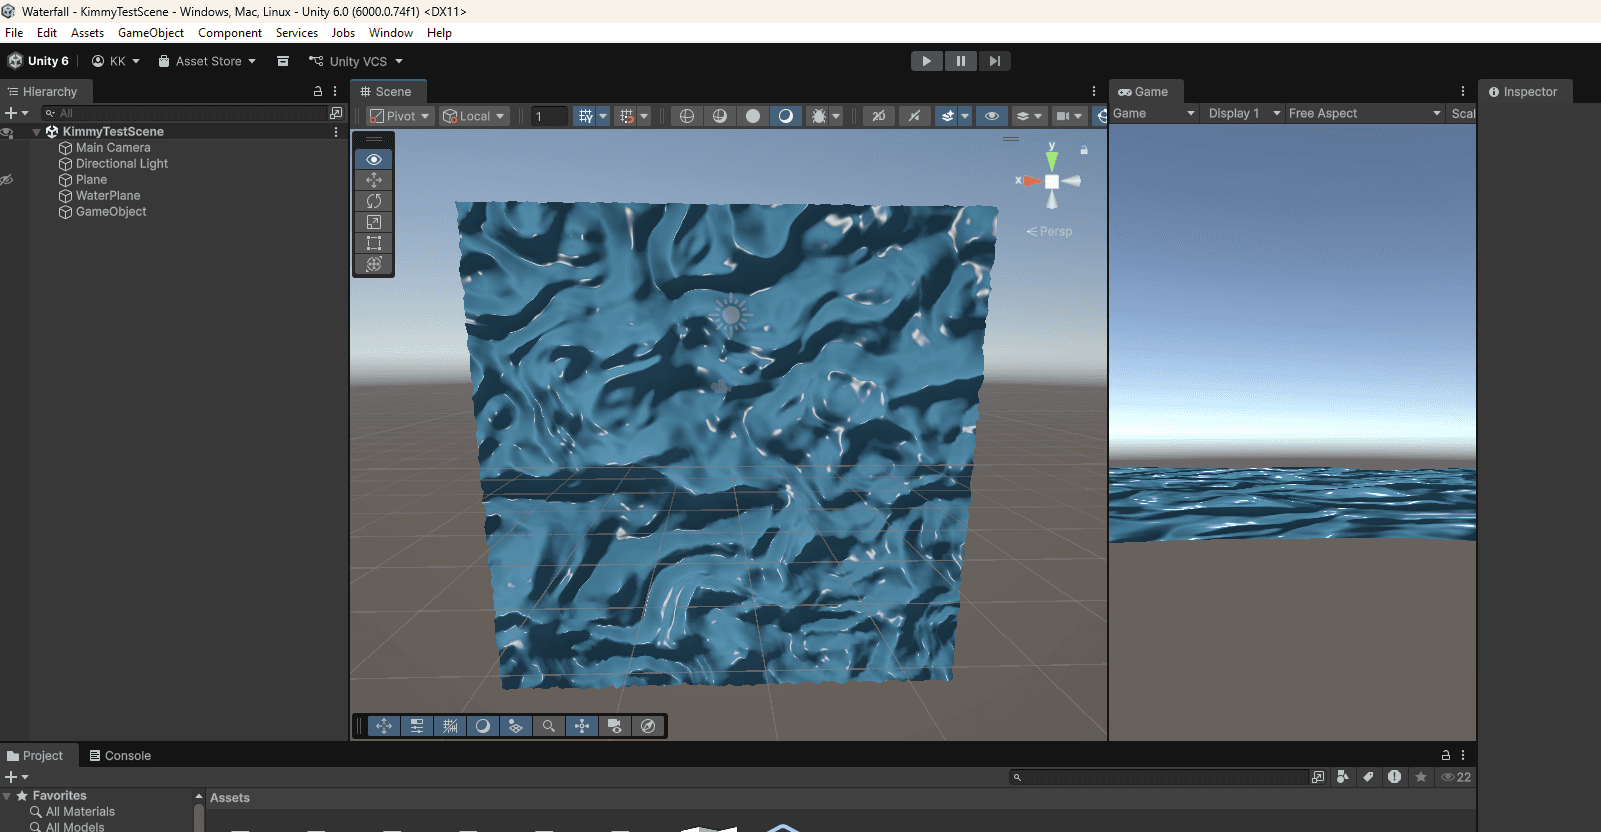
Real Perlin noise replacing the placeholder, with smoother flowing patterns and no grainy artifacts
Surface shader step 5: Lighting, normals, and the moment it looked wet
Biggest visual jump of the whole project. Reconstructed normals in the fragment shader by sampling FBM at four offsets and taking finite differences. Plugged those into Blinn-Phong, diffuse plus specular plus a small ambient term, and the surface caught light for the first time. Added a deep/shallow color mix driven by the FBM height and it was the first frame where I looked at it and went 'okay that's water'. Five sub-steps inside this one but worth it.
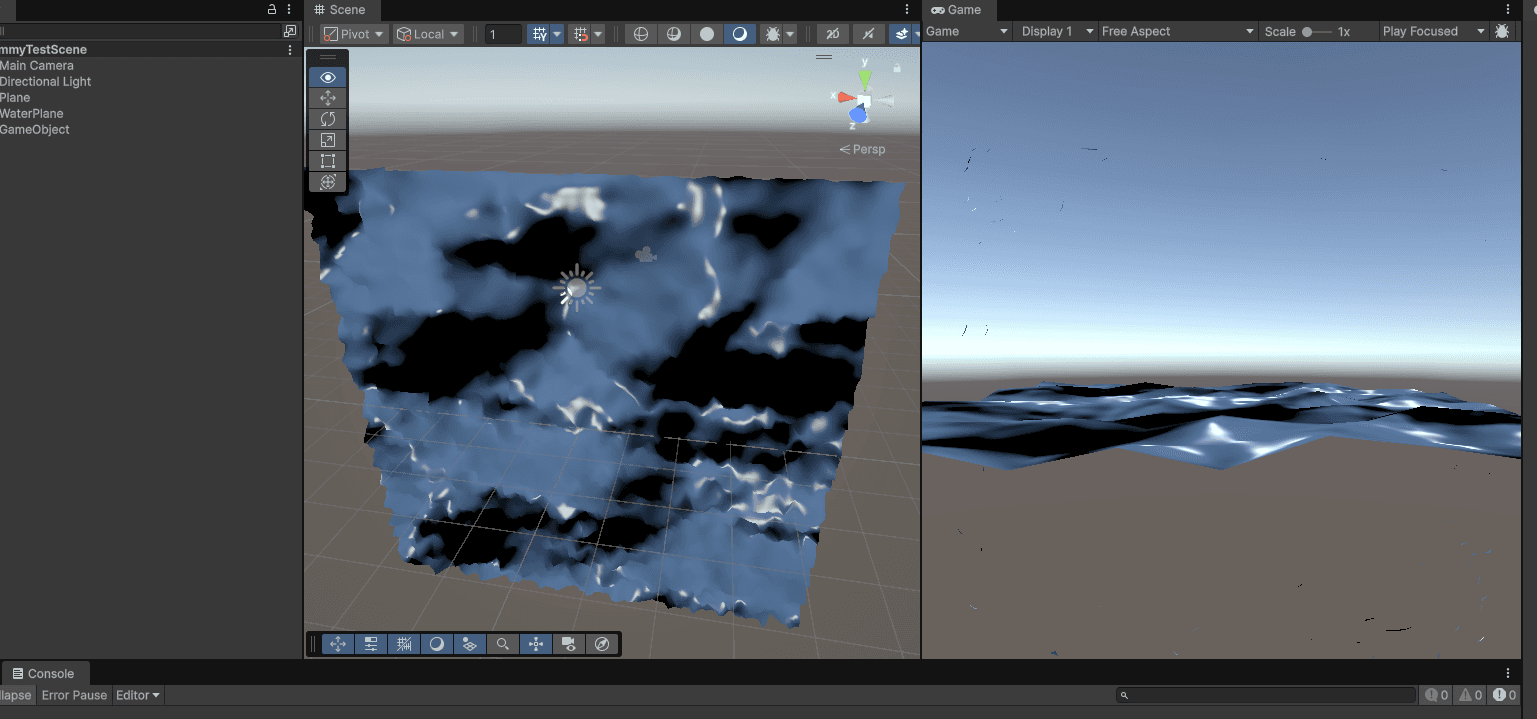
Per-pixel Blinn-Phong shading with deep and shallow water colors blended by FBM height
Foam shader step 3: Early impact foam experiments
The next step was creating foam where the waterfall hits the pool. I used a radial mask based on distance from a center point in UV space. At this point the result looked extremely grainy and noisy, especially since the water shader was still mostly grayscale. A lot of time here went into adjusting the FBM scale, cutoff and contrast to make the splash read more like foam and less like static.
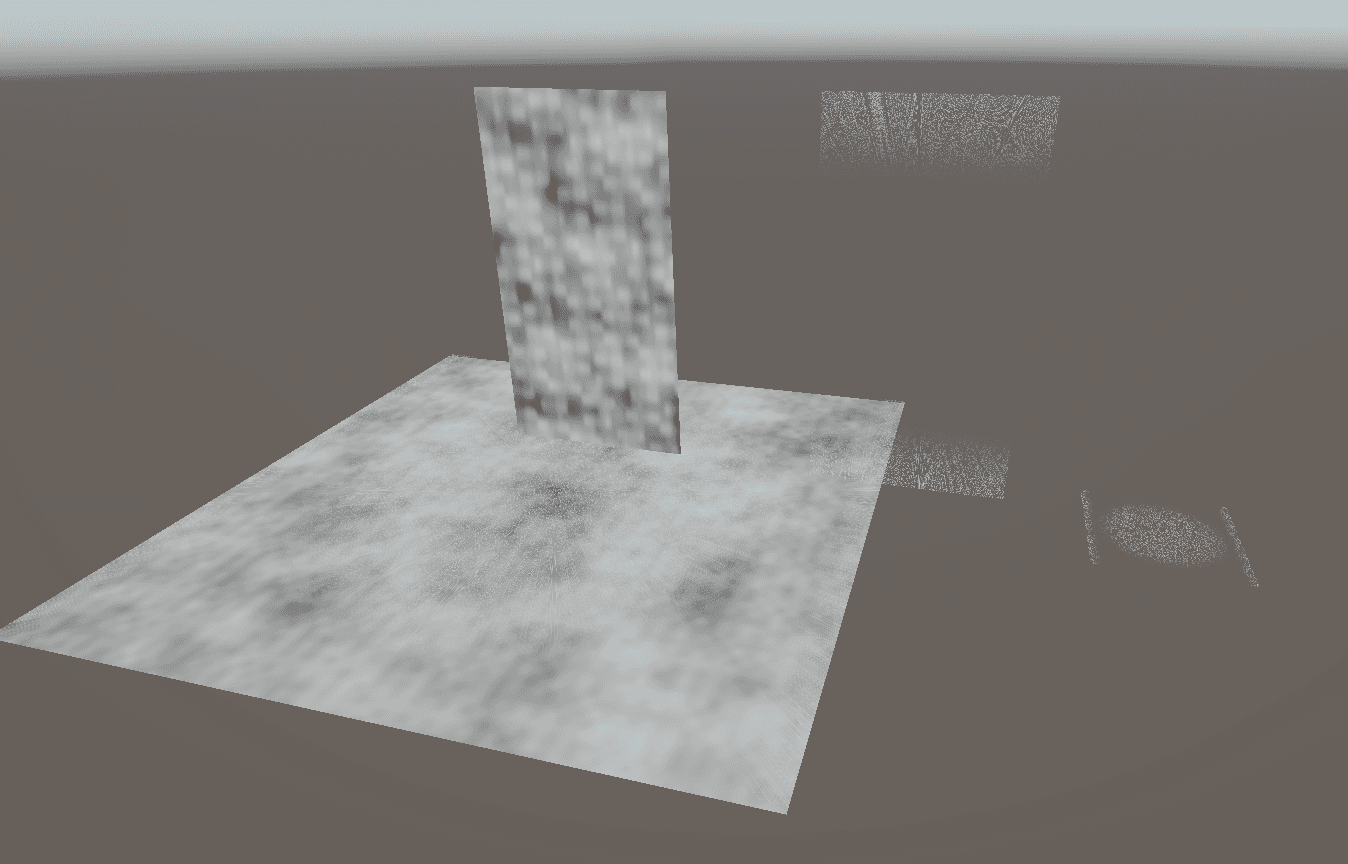
Early impact foam with noisy radial masking
Surface shader step 4: Vertex displacement
Moved the FBM sample into the vertex shader and used it to push each vertex along its normal. This is where I actually started seeing surface bumps moving around instead of just shaded noise on a flat plane. Unity's default plane only has about 10x10 quads though, so the waves looked like a low-poly mountain. Wrote a small WaterMesh script that builds a subdivided plane and the displacement smoothed out. The conceptual jump was understanding that vertex and fragment shaders can both sample noise independently. Vertex for shape, fragment for surface detail.
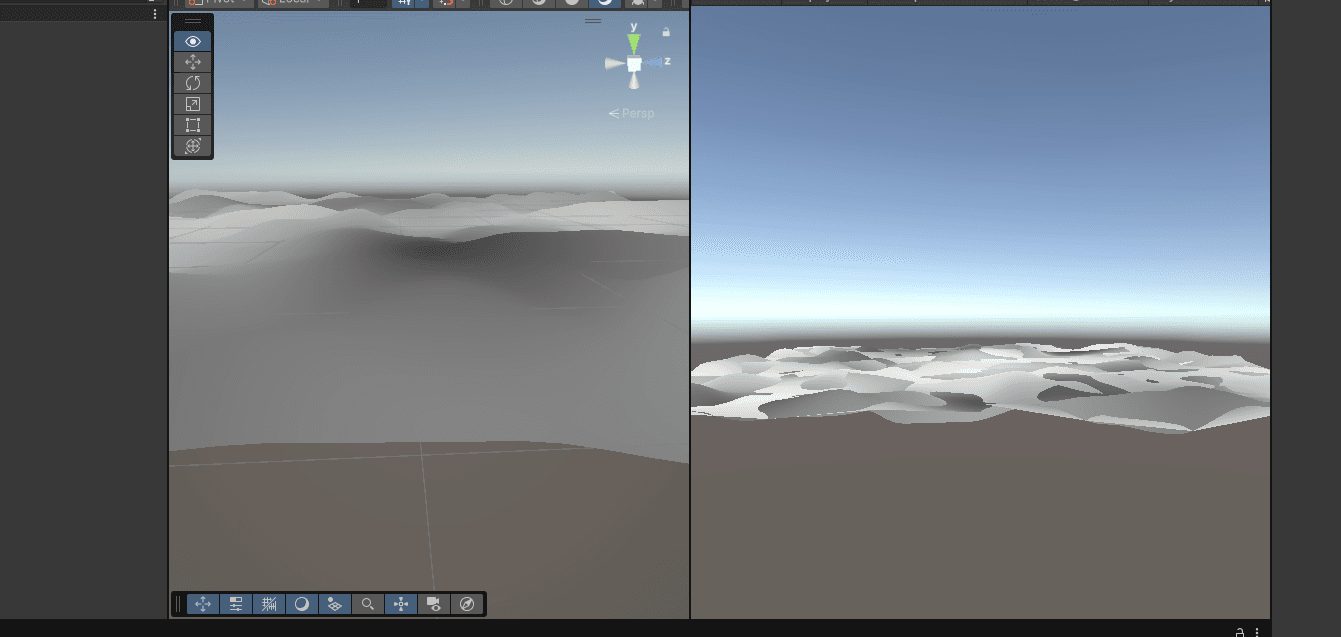
Vertex displacement on a subdivided plane, FBM driving the height of each vertex
Surface shader step 3: Time-based scrolling
Added _Time.y to the UV before sampling and suddenly the noise was moving across the surface. Still just dark clouds drifting over a flat plane, no actual surface deformation yet, but it was the first sign of motion. Two scroll layers at different speeds so it didn't look like a single image sliding.
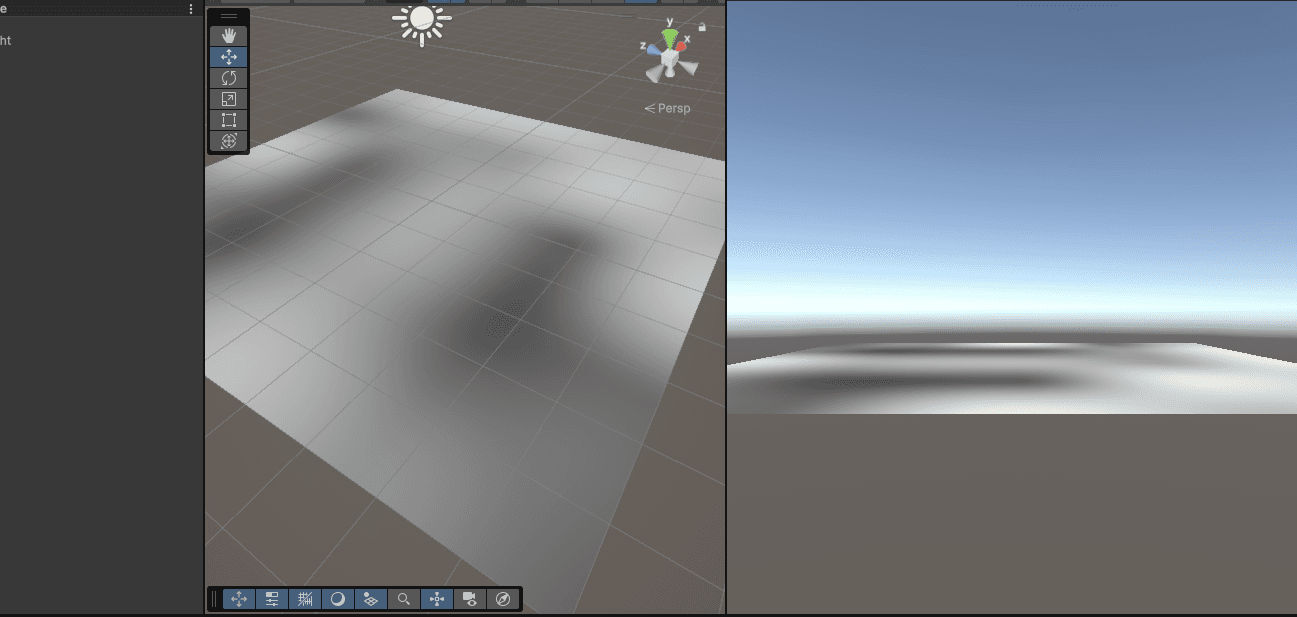
Two scrolling noise layers drifting across the plane at different speeds
Foam shader step 2: Testing foam as a layered material
Once the edge masks worked, I started testing the foam together with the water shader. At this stage the water still did not have its final lighting or color, so everything looked pretty rough and grayscale. The important part here was confirming that the foam could work as a transparent layer rendered on top of the water surface.
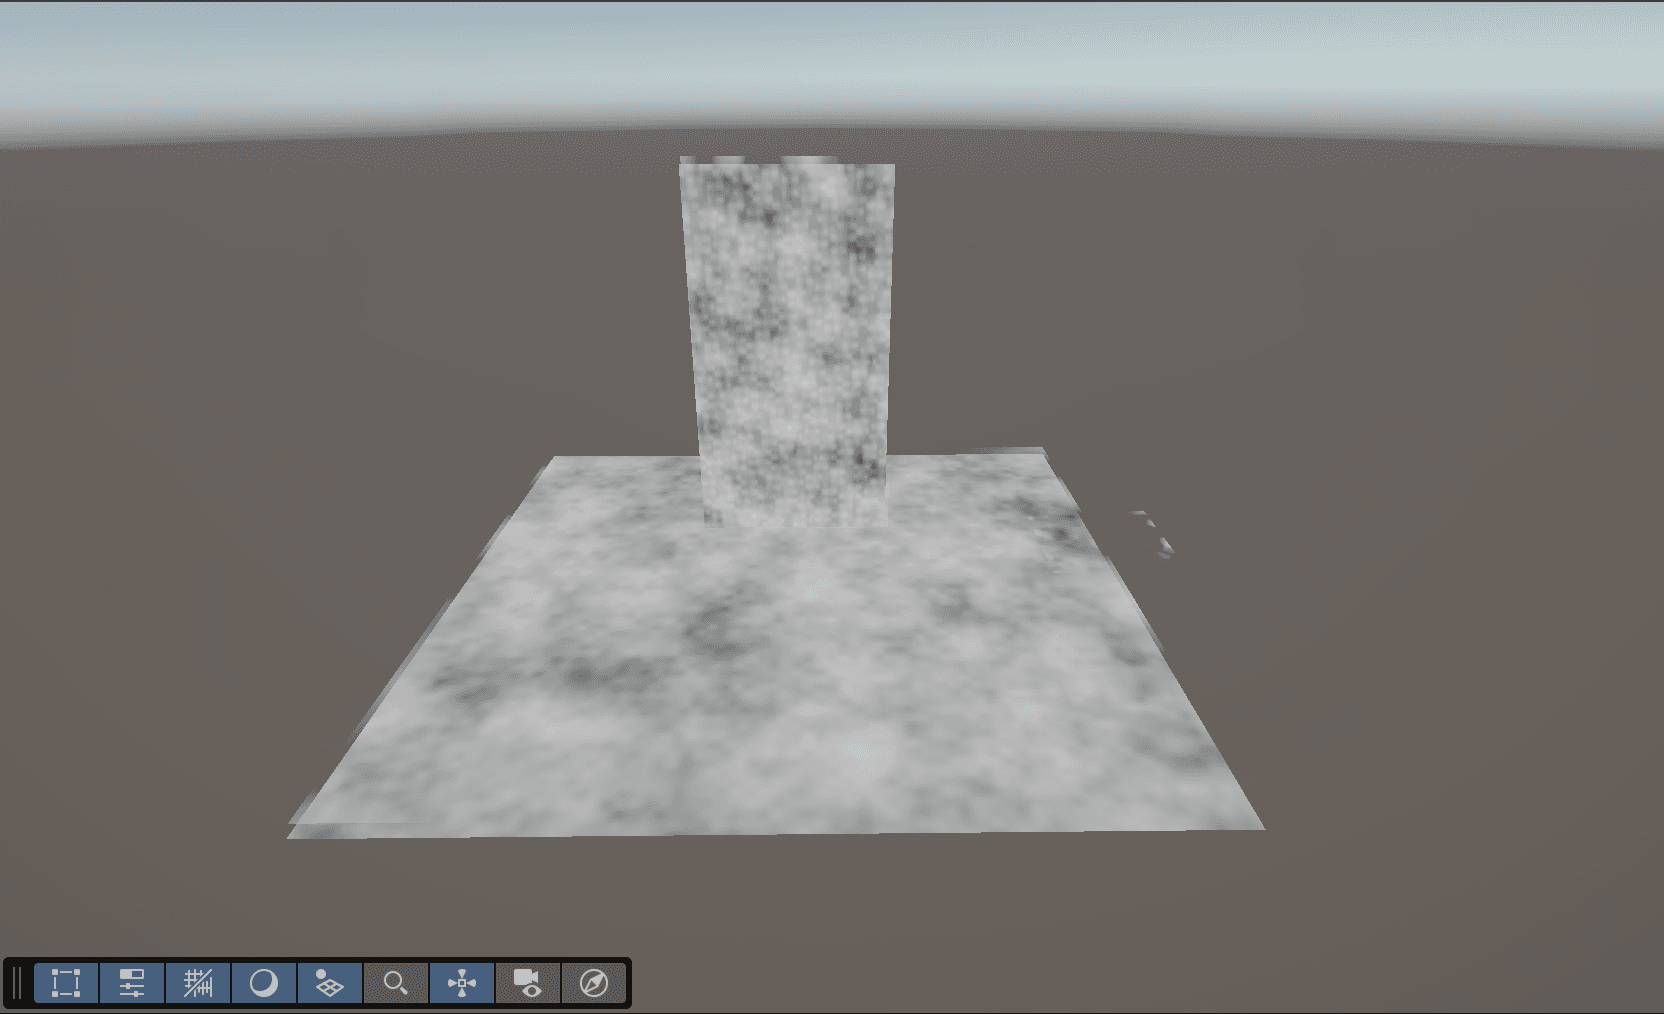
Early test combining foam and water shaders
Surface shader step 2: FBM and the octave loop
Wrapped the placeholder noise in an FBM loop with octaves, lacunarity, and gain exposed in the inspector. Cranked octaves up and watched fine detail layer on top of the bigger shapes. Spent way too long confused about why my noise was solid gray before realising I wasn't normalizing by the sum of amplitudes. Every extra octave was making it brighter until it clipped to white. One division fixed it.
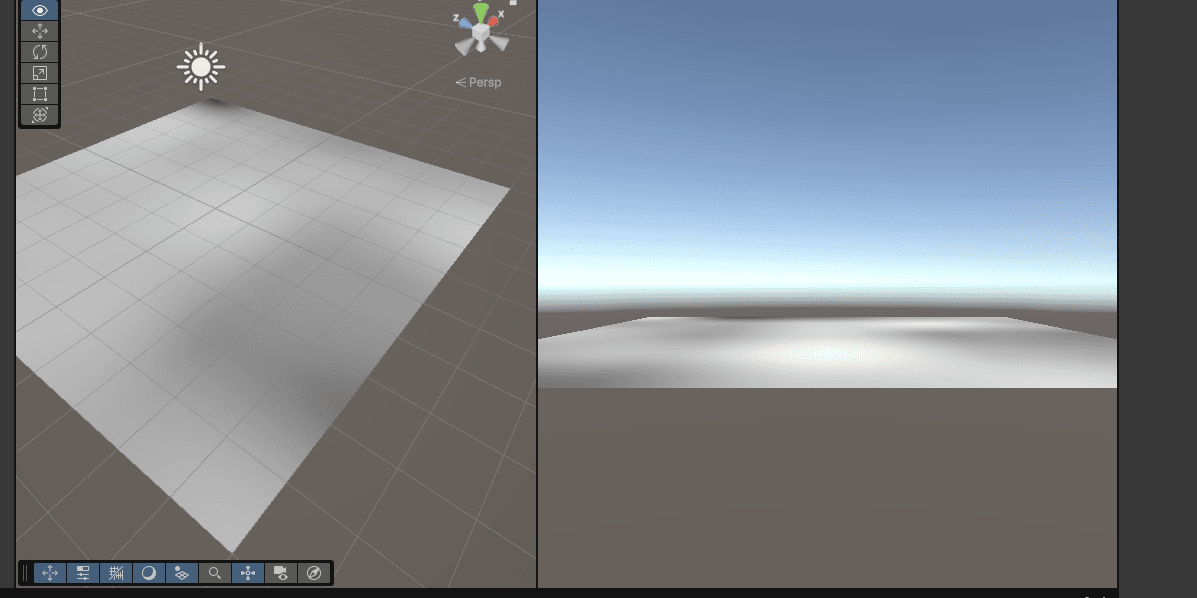
FBM with four octaves stacked, lacunarity and gain exposed in the inspector
Foam shader step 1: UV edge bands
Started the foam shader with very simple UV masks. The first version just created soft white bands at the top and bottom of the mesh. It did not really look like foam yet, but it proved that the placement logic worked and that the foam could be controlled through UVs, width and softness parameters.
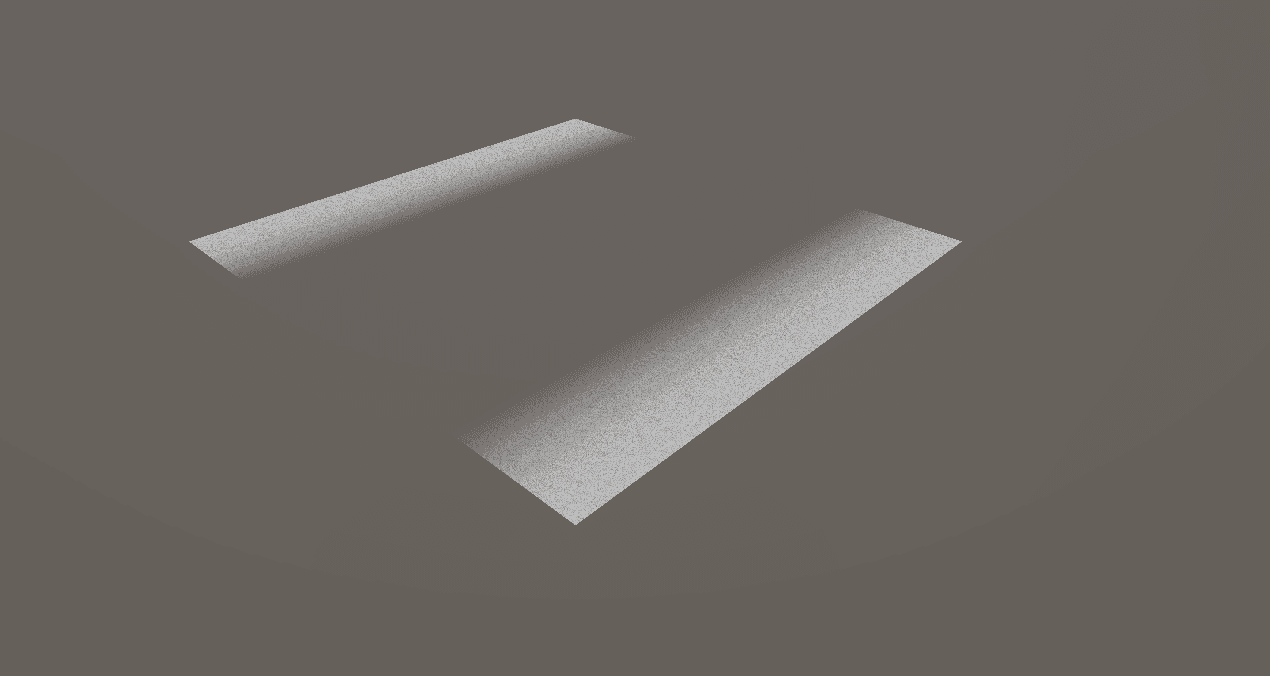
First foam pass using UV-based edge bands
Surface shader step 1: First shader on a flat plane
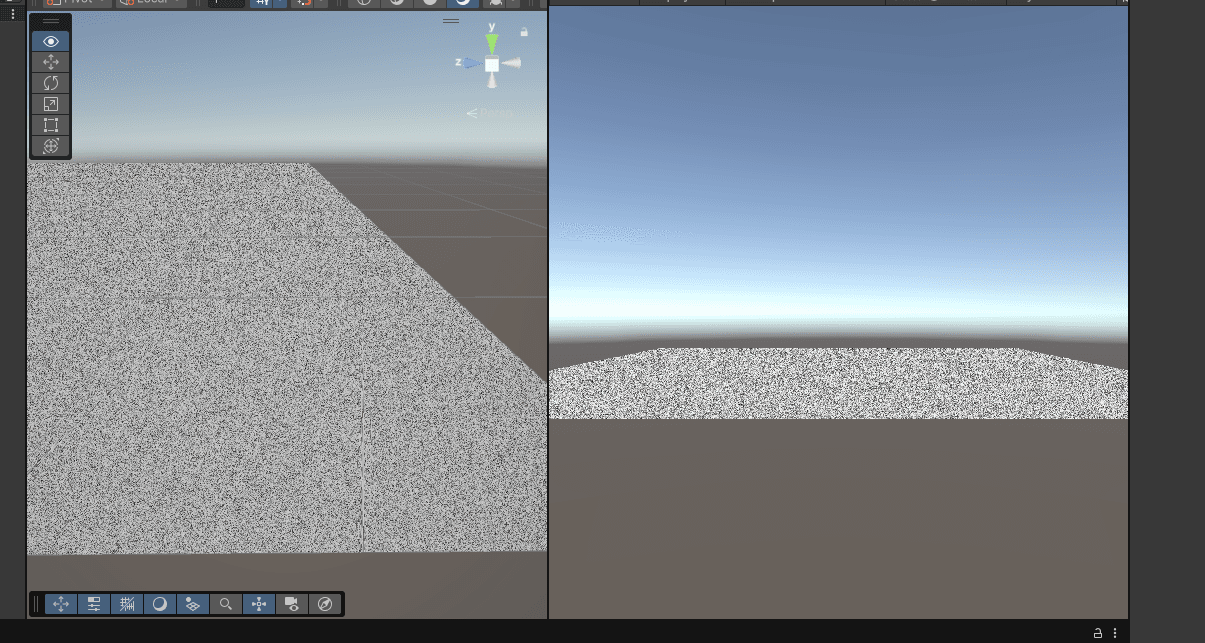
Started from absolute zero. Made a flat plane, attached an unlit material, wrote a vertex/fragment shader that samples a placeholder noise function and outputs it as grayscale. Just gray static, but seeing that show up on a plane I made was the moment shaders stopped feeling like magic. Spent a while figuring out what TEXCOORD0 actually is and why the vertex shader hands data to the fragment shader through a struct.